Unlock the Secrets of Stunning Photography with Essential Studio Lighting Gear!
In the realm of photography, lighting is the magic ingredient that can transform a simple shot into a breathtaking image. It plays a crucial role in defining the mood, enhancing colors, and bringing out the details that might otherwise go unnoticed. Poor lighting can overshadow even the most well-composed photographs, making the right studio lighting equipment indispensable for any aspiring or professional photographer. Whether you’re capturing portraits, product shots, or artistic compositions, understanding how to manipulate light effectively can elevate your work to new heights. In this guide, we will explore the various types of studio lighting equipment, their specific uses, and how they contribute to creating stunning imagery.
Understanding Studio Lighting Equipment
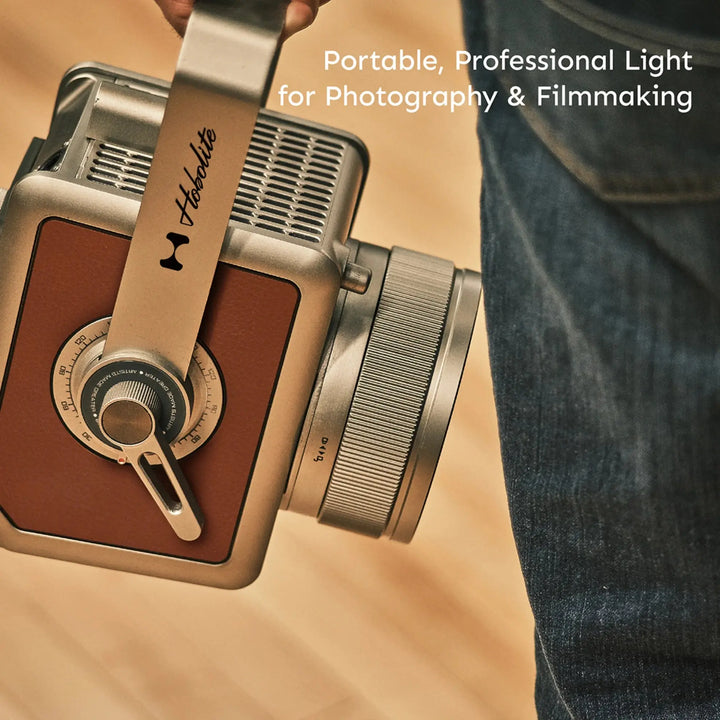
Studio lighting equipment encompasses a variety of tools that photographers use to control the light in their environment. Each type of equipment serves a unique purpose and can drastically change the outcome of a photo. For instance, continuous lights provide a constant source of illumination, allowing photographers to see how shadows and highlights fall on their subjects in real time. On the other hand, strobes produce bursts of light that can freeze motion and create dramatic effects. LED panels are another popular choice, offering versatility and the advantage of low heat emission, which is particularly beneficial when working in tight spaces. By mastering these different types of lighting equipment, photographers can gain greater creative control, ensuring their images convey the desired message and emotion.
Key Types of Studio Lighting
When it comes to studio lighting, there are three primary types you should become familiar with: continuous lights, strobes, and LED panels. Continuous lights, such as incandescent bulbs or fluorescent tubes, are ideal for beginners as they provide a constant light source, making it easier to judge how light interacts with your subject. Strobes, or flash units, are favored by many professionals due to their ability to produce powerful bursts of light, which can be adjusted in intensity. This makes them perfect for high-speed photography and scenarios where freezing action is crucial. LED panels have grown in popularity for their portability and energy efficiency, offering variable color temperatures and brightness levels, making them a versatile option for different shooting environments. Each type of lighting has its strengths, and knowing when to use each can greatly enhance your photography.
Softbox and Umbrella Lighting
Softboxes and umbrellas are essential tools in the photographer's kit, designed to diffuse light and create a soft, even illumination. A softbox is a rectangular or octagonal box lined with reflective material and fitted with a diffusion panel, which softens the harsh light emitted from a strobe or continuous light. This creates a flattering effect on subjects, reducing shadows and producing a more natural look. Umbrellas, on the other hand, can either be reflective or shoot-through, and they work to spread the light over a wider area. Using these tools can significantly enhance portrait photography, as they help in achieving a beautiful and soft lighting that minimizes blemishes and enhances the overall complexion. I remember a friend of mine, a budding portrait photographer, who swore by his softbox; he noticed an immediate improvement in his work after incorporating it into his setup.
Other Essential Lighting Tools
In addition to softboxes and umbrellas, other lighting tools can enhance your setup and help you achieve specific effects. Reflectors are a simple yet powerful tool that can bounce light back onto your subject, filling in shadows and adding dimension to your images. They come in various colors—white, silver, gold, and black—each producing different effects. Light stands are equally important, as they provide the necessary support for your lights, ensuring stability and adjustability. Modifiers, such as grids and gels, allow you to control light direction and color, giving you the ability to create an array of creative effects and moods in your photography. Being versatile with these tools can be the difference between an average photo and a standout image.
Tips for Using Studio Lighting Effectively
To make the most of your studio lighting setup, consider these practical tips: First, always start with the key light, which is your main source of illumination, and then use fill lights to soften shadows. Pay attention to the light's angle; light coming from above can produce unflattering shadows, while a low angle can create a dramatic effect. Don't be afraid to experiment with different setups and modifiers to see how light interacts with your subject. Additionally, take test shots and adjust your settings as needed to find the perfect balance. A friend of mine once told me that mastering lighting was about patience and practice—something I wholeheartedly agree with. The more you play with your equipment, the more comfortable you’ll become.
Mastering Studio Lighting for Stunning Imagery
In summary, mastering studio lighting equipment is essential for any photographer looking to create stunning images. From continuous lights to softboxes and reflectors, each piece of equipment plays a vital role in shaping the final outcome of your photographs. Understanding how to use these tools effectively can open up a world of creative possibilities, allowing you to explore different styles and techniques. Whether you’re just starting or looking to refine your skills, investing time in learning about studio lighting will undoubtedly enhance your photography journey. Remember, the right lighting can transform your work and tell the story you want to convey.
