
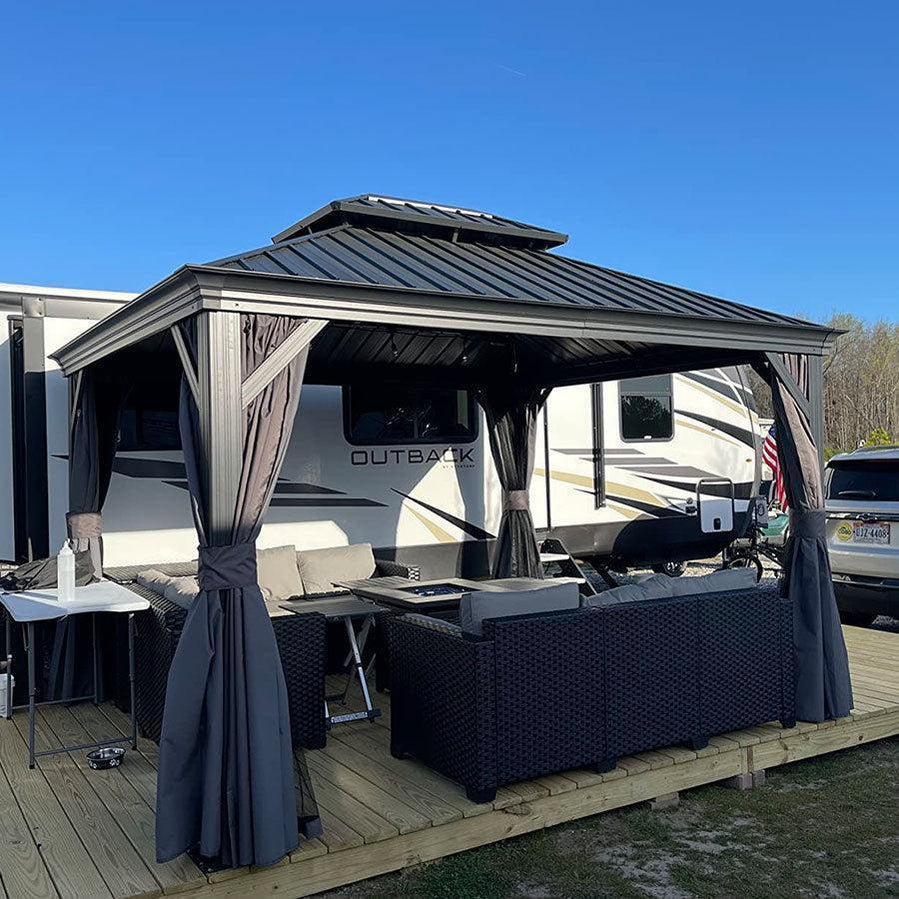
Unlock the Secrets to Effortlessly Build Your Dream Double Top Gazebo!
Imagine sipping your favorite drink on a warm summer day, sheltered from the harsh sun under a beautifully crafted double top gazebo. This outdoor structure not only provides a shaded retreat but also enhances your garden or patio aesthetics. The double top design offers improved ventilation and a touch of elegance, making it the perfect addition to any backyard. In this article, we'll focus on a popular size: the 10x10 double top gazebo, and provide you with a comprehensive step-by-step guide to assemble it yourself. Whether you're a seasoned DIY enthusiast or a novice, this guide will walk you through the process, ensuring you can enjoy your outdoor space to the fullest.
Essential Tools and Materials
Before diving into the assembly of your gazebo, it’s crucial to gather all the necessary tools and materials. Here’s a comprehensive list to help you get started:
- Measuring tape: Essential for ensuring accurate dimensions.
- Level: To guarantee that your gazebo is perfectly balanced.
- Drill: Necessary for making holes and securing screws.
- Screwdriver: A manual or electric screwdriver will work well for assembling various parts.
- Wrench set: Used for tightening nuts and bolts.
- Rubber mallet: To gently tap components into place without causing damage.
- Safety goggles and gloves: Essential for personal safety during assembly.
These items can often be found at local hardware stores, or you might even borrow some from friends or family. Each tool plays a pivotal role in ensuring that your gazebo is sturdy and well-constructed, so don’t skip this step!
Preparation Steps Before Assembly
Preparation is key when it comes to assembling your gazebo. Start by selecting a suitable location—ideally, a flat, level area that is free of debris. This will not only make assembly easier but will also provide stability for your gazebo. Once you’ve chosen your spot, clear the area and ensure that the ground is compacted. It’s also wise to lay out all of your components before beginning the assembly process, so you know exactly where everything is and can work more efficiently. My friend Sarah experienced this firsthand when she assembled her gazebo, and having everything prepped made the process smooth and enjoyable.
Step-by-Step Assembly Guide
Now that you have your tools ready and your area prepared, it’s time to start the assembly process! We’ll break this down into manageable steps to make it easy to follow.
Step 1: Assemble the Base
Begin by constructing the base of your gazebo. This is the foundation that will support the entire structure. Use your measuring tape to mark the dimensions of the 10x10 area on the ground. Lay out the base pieces according to the instructions, ensuring they are aligned correctly. Secure the corners using screws and brackets, making sure everything is level. For added stability, consider anchoring the base to the ground using stakes or concrete footings, especially if you live in a windy area.
Step 2: Construct the Frame
With the base secure, it’s time to build the frame. Start by erecting the vertical posts at each corner of the gazebo. Make sure they are plumb, using your level to check. Next, connect the top horizontal beams to the posts, ensuring that everything is well-aligned. It’s important to double-check your measurements during this step, as a misaligned frame can lead to difficulties later on. Use your wrench to tighten all connections thoroughly, ensuring a solid frame.
Step 3: Attach the Canopy
Once the frame is complete, it’s time to attach the double top canopy. Lay the canopy fabric over the frame, making sure that it is centered and that the corners align with the frame. Secure the fabric to the frame using clips or hooks as specified in your assembly instructions. To ensure the canopy is taut and secure, adjust it as needed and double-check that it fits snugly over the frame. This step not only adds protection from the elements but also enhances the overall aesthetic of your gazebo.
Finishing Touches
With the structure complete, it’s time to add the finishing touches. Consider adding decorative elements like LED string lights, curtains, or outdoor furniture to create a cozy atmosphere. These enhancements not only improve the functionality of your gazebo but also personalize it to match your style. Additionally, take a moment to inspect your work, making any necessary adjustments to ensure everything is secure and visually appealing. It’s these small details that will transform your gazebo from a basic structure into an inviting outdoor retreat.
Final Thoughts on Assembling Your Gazebo
Assembling a double top gazebo may seem daunting at first, but with the right preparation and guidance, it can be a rewarding and enjoyable experience. Not only will this structure provide you with a beautiful shaded area for relaxation and gatherings, but it will also add value to your outdoor space. So, gather your tools, follow the steps outlined in this guide, and get ready to enjoy your new gazebo! We’d love to hear about your experiences and any tips you might have for fellow DIY enthusiasts.